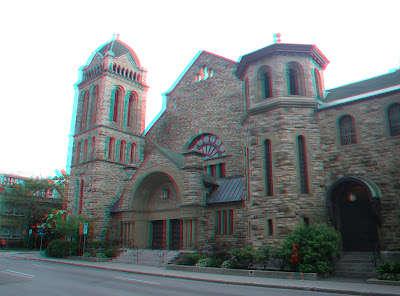
Instead, I'd like to share another 3D image. I've refined my skills from the previous 3D image, showing a scene from the Bronson Avenue reconstruction, by taking better source photos and being more careful when processing them into something that looks good with red-blue glasses. This one's of the Dominion-Chalmers United Church on O'Connor Street between Cooper and Lisgar:
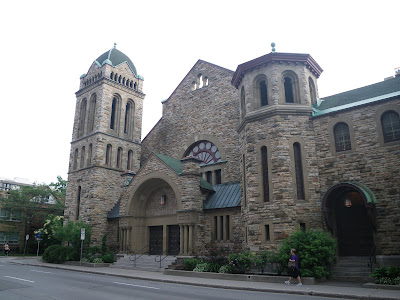
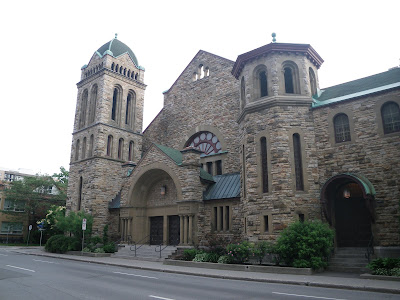
 As with the previous 3D image I'm sharing the source images too. If you don't have 3D glasses you can theoretically "wiggle" quickly between these two images to approximate a 3D effect, though they would need some cropping before that would work well.
 Unlike the previous one, I've made it full colour by retaining the green channel in this image (the two views were taken too far apart in the previous view, and when I tried to add the green channel it makes your eyes hurt to try to see the 3D). Since most of the 3D images I've seen growing up were red-and-blue line drawings, I didn't even know you could do this until I saw the instructions I followed. The way this still works, I suspect, is that one eye sees the blue and green channels, which are bold enough to tell your brain that this is what the object looks like, and the other eye sees the red channel, which the brain uses to add dimension to what it sees in the other eye. The three colours mix together as they would if they were all identical, creating the full colour. Photos with lots of bright primary colours don't do well with this because there isn't enough information for the two eyes to compare what they see.

 Since I'm taking photos with a single camera, it's a bit harder for me to get the second shot to match the first (with two identical cameras you can simply take the photos from two different angles at the same time to capture live images). What I've found works reasonably well is to pay attention to the nearest object in the image (for the church photo, this would be the nearest corner of the garden curb) and where it is in the frame. Then pay attention to reference points on the four edges of the frame (For example making sure the door on the right isn't cut off and that the camera sees the far corner of the curb along the roadside at Cooper). There aren't many up/down cues to work with, which is evident from the discrepancy between the two shots, but it's not really a problem because I can just crop out the parts that don't overlap.
Another trick I learned is to look through the glasses the 'wrong' way when creating the 3D photo. My eyes don't see 3D images too well, so sometimes I'm unsure if I've successfully created the 3D image. If you accidentally filter out the colours in the reverse order, your brain can't simply compensate, but when you flip the glasses the image pops right out and the cursor floats above it. Unfortunately, in the GIMP, once you filter out the colour channels, you can't add them back in, so you have to start over if you make this mistake.
I've got other 3D photos in production for future blog posts, and I'm also looking into where you can get some cheap red-blue 3D glasses locally. I also have a second camera, which I might start carrying with me...
[Look for more one-photo posts under the label Singles]
No comments:
Post a Comment